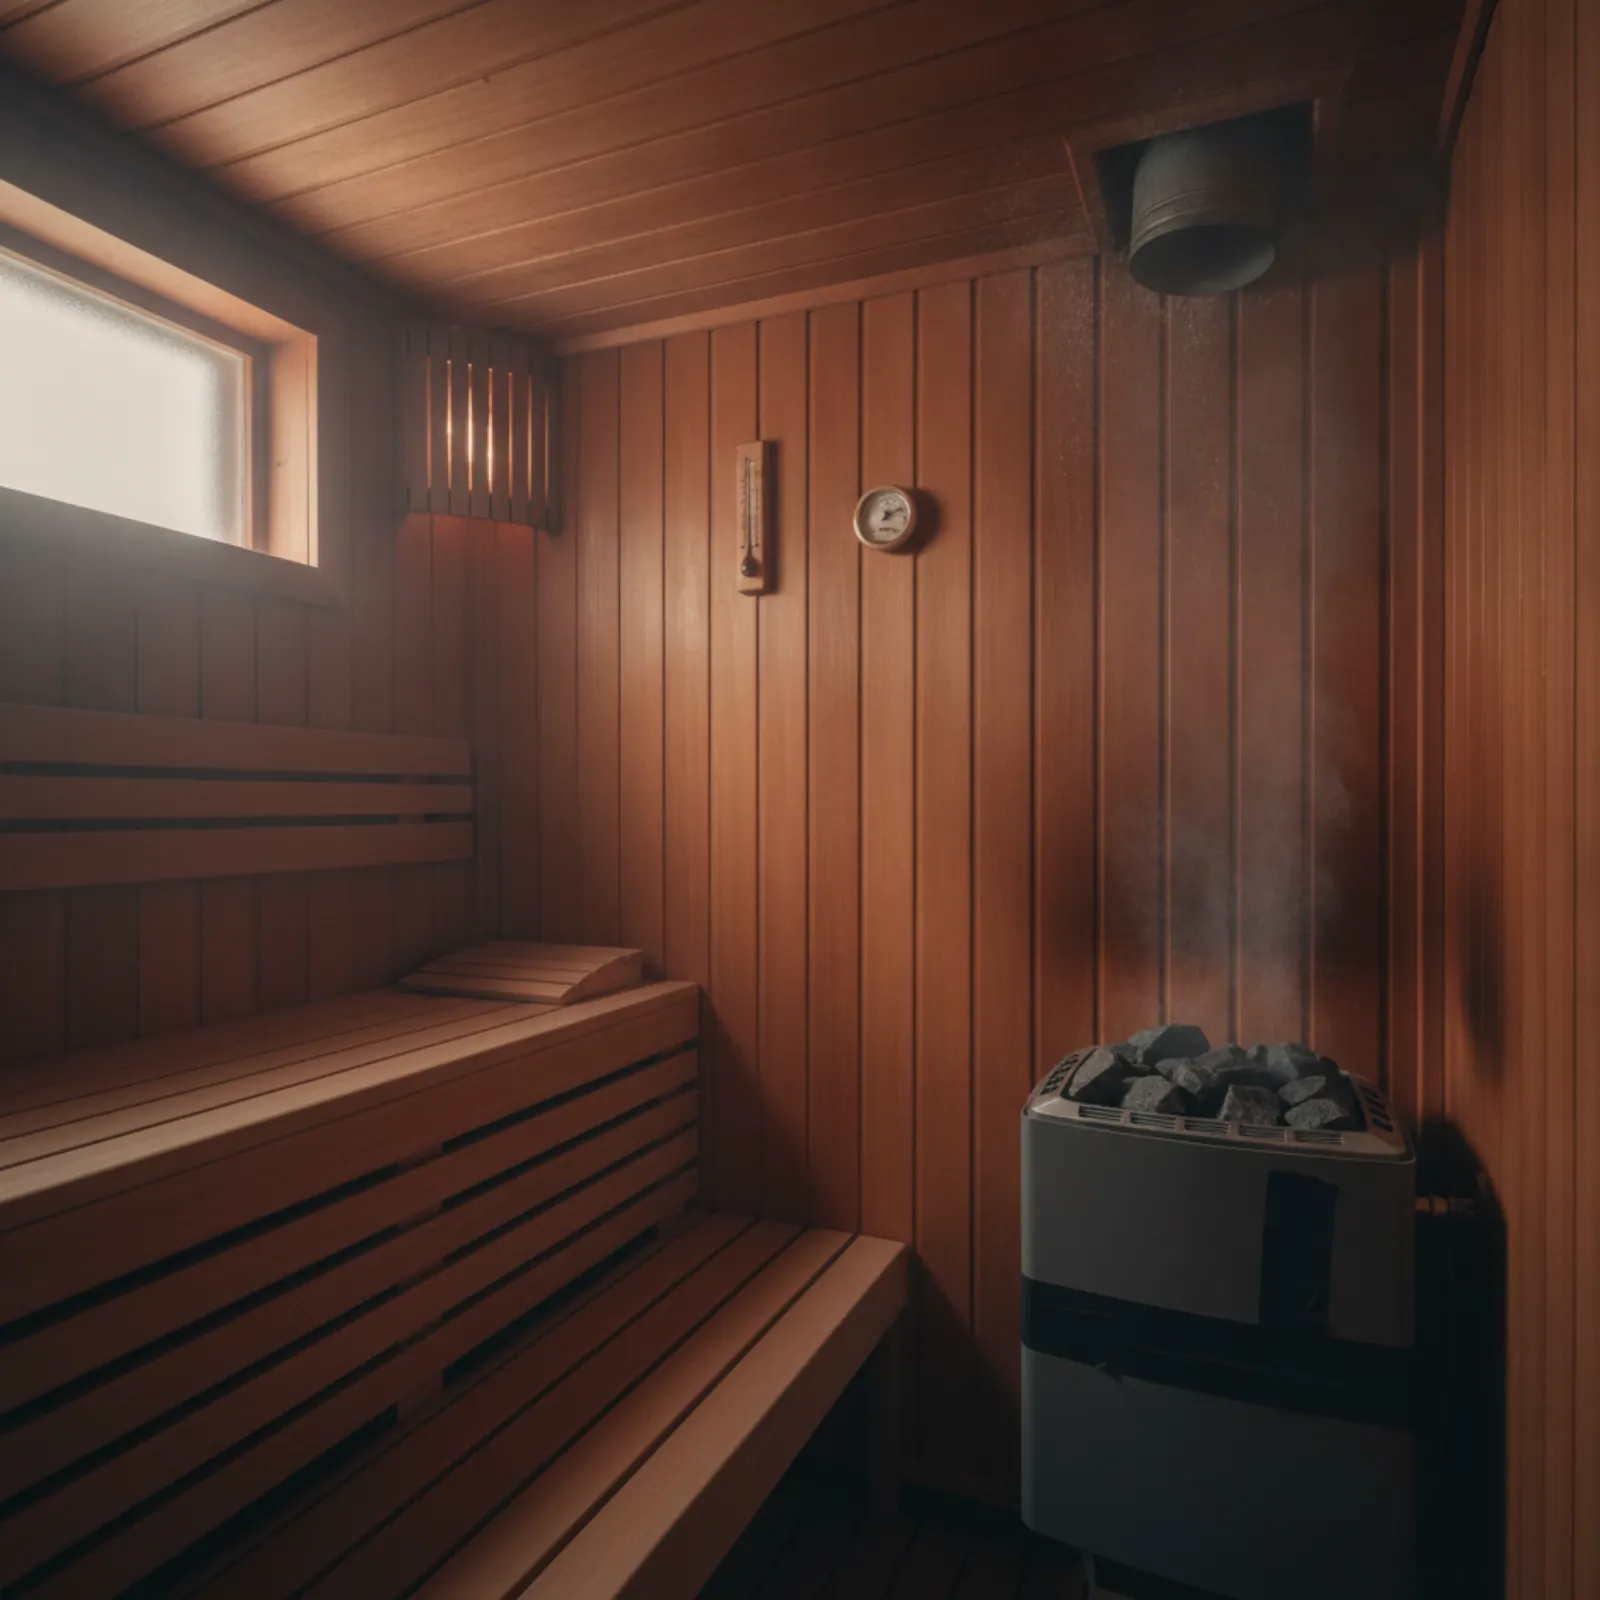
Sauna Ventilation Mistakes: Why Good Heaters Feel Bad
The common home sauna ventilation mistakes that cause stale air, uneven heat, weak loyly, slow drying, and buyer regret.
Installation
Quick answer: Bad sauna ventilation can make a good heater feel wrong. Plan fresh air intake, exhaust path, drying, bench layout, and manufacturer requirements before the build is closed up.
Best for
Home sauna buyers planning a kit, indoor build, or outdoor cabin before installation.
Wrong fit
Commercial sauna design or code-specific mechanical engineering.
Tradeoff
More heat is not the fix for stale air. Airflow and drying matter as much as heater size.
A bad sauna usually gets blamed on the heater. Owners replace a $1,500 heater to fix a problem a $30 vent grille caused. Ventilation is the least visible part of a sauna build and the most common reason a good heater feels bad.
This guide is the troubleshooting side: the mistakes, the symptoms they cause, and what the fix costs. If you are still designing the room, start with the indoor sauna ventilation guide for the intake and exhaust layout basics, then check the plan against the failure list here.
Quick Answer
Before installation, ask where fresh air enters, where stale air exits, how the sauna dries after use, and whether the design follows the heater manufacturer's requirements. Do not let the walls close before the airflow plan is drawn.
Common ventilation mistakes
Mistake
What it causes
No clear intake
Stale, heavy air
No useful exhaust path
Slow drying and uneven comfort
Intake in the wrong place
Heater performs poorly, sensor misreads
Exhaust blocked by benches
Weak air movement
No drying plan
Moisture lingers after every session
Treating outdoor cabins as exempt
Small rooms still need airflow
The most expensive version of all six is the same: assuming the kit handles it. A kit ships with ventilation instructions, but the installer still has to cut the openings in your specific wall, in your specific room. Kits do not vent themselves.
Match the symptom to the mistake
Most ventilation problems announce themselves. Read the room before blaming the heater.
Symptom
Likely mistake
Air feels heavy after ten minutes
No fresh air intake, or intake blocked
Hot head, cold feet
Air stratification from wrong intake placement
Sauna still damp the next morning
No drying path after the session
Temperature sensor trips or reads wrong
Intake blowing cool air onto the sensor
Big heater, weak feel
Air not moving, so heat pools at the ceiling
The numbers manufacturers actually publish
Heater makers publish ventilation requirements because bad airflow makes their products look broken. Harvia's guidance is concrete: the air in the sauna room should change six times per hour, the supply vent goes above the heater with mechanical ventilation or beside it with natural ventilation, and the exhaust sits near the floor as far from the heater as possible, at roughly twice the supply vent's diameter. HUUM adds the step most builders skip: a dedicated drying vent, closed during the session and opened after.
None of this is exotic, and all of it is cheap during framing. A vent, duct, and grille cost under $100 in materials. Opening a finished cedar wall to add one later is a $500 to $1,500 job with refinishing. That gap is the whole argument for planning airflow before the walls close.
More heater is not the answer
Oversizing a heater makes a sauna hot faster without making it better. If the room has stale air or weak circulation, a bigger heater sharpens the discomfort: hotter ceiling, same dead air at bench level.
Size the heater to the room with our sauna heater size calculator, then spend the upgrade money on airflow instead. The best sauna heater guide covers which heaters come with clear ventilation documentation, which is a quiet signal of a serious manufacturer.
The room around the sauna matters too
Indoor builds push warm, moist exhaust air into whatever surrounds them. A basement or garage has to be able to accept that moisture, or the mold problem just moves one room over. The basement sauna guide and the garage sauna guide cover what each space needs before a sauna goes in.
Outdoor cabins are not exempt. Wind is not a ventilation plan, and a barrel or cabin that cannot dry between sessions rots from the inside while the site drains badly underneath it. Moisture management inside and under the sauna is one system, and the maintenance guide shows the owner-side routine that keeps it working.
What to ask before the walls close
Three questions, to the builder or kit seller, in writing:
Show me the intake and exhaust on the drawing, with sizes and positions. "It has ventilation" is not an answer.
Which heater manufacturer's ventilation requirement does this design follow? The heater manual is the authority, not habit.
How does the room dry after a session? Name the vent, pipe, or routine.
Kit sellers vary widely here. The credible ones in our sauna brands directory ship ventilation instructions with the kit. If your quote says nothing about airflow, send it through our free quote review and we will flag the gap before it becomes a wall-opening job.
Frequently Asked Questions
Does every sauna need ventilation?
Yes. Details vary by design, but fresh air in, stale air out, and a drying path are part of every real sauna plan, indoor or outdoor, electric or wood-fired.
Can I add ventilation later?
Sometimes, but the price changes. During framing it is under $100 in parts. After the cladding is finished it means opening a wall, typically $500 to $1,500 with refinishing, and the placement options are worse.
Is ventilation more important for wood-fired or electric?
Both need airflow, for different reasons. A wood stove pulls its own combustion air and needs a supply for it. An electric heater depends entirely on vent placement to move air, which is why electric heater manuals are so specific about intake and exhaust positions.
What is the first question to ask?
Ask the installer to show the intake, exhaust, and drying path on the plan. If any of the three is missing from the drawing, the conversation is not finished.
Sources
Harvia: Ventilation in the sauna: six air changes per hour, intake and exhaust placement, and drying guidance from the largest heater maker
These guides are built from manufacturer documentation, public specifications, primary research where health claims matter, and repeated buyer questions that show up in real ownership and installation decisions.
Manufacturer responses can clarify pricing bands, warranty terms, support footprint, or common mistakes. They do not move a page up the shortlist on their own.