Sauna Guide
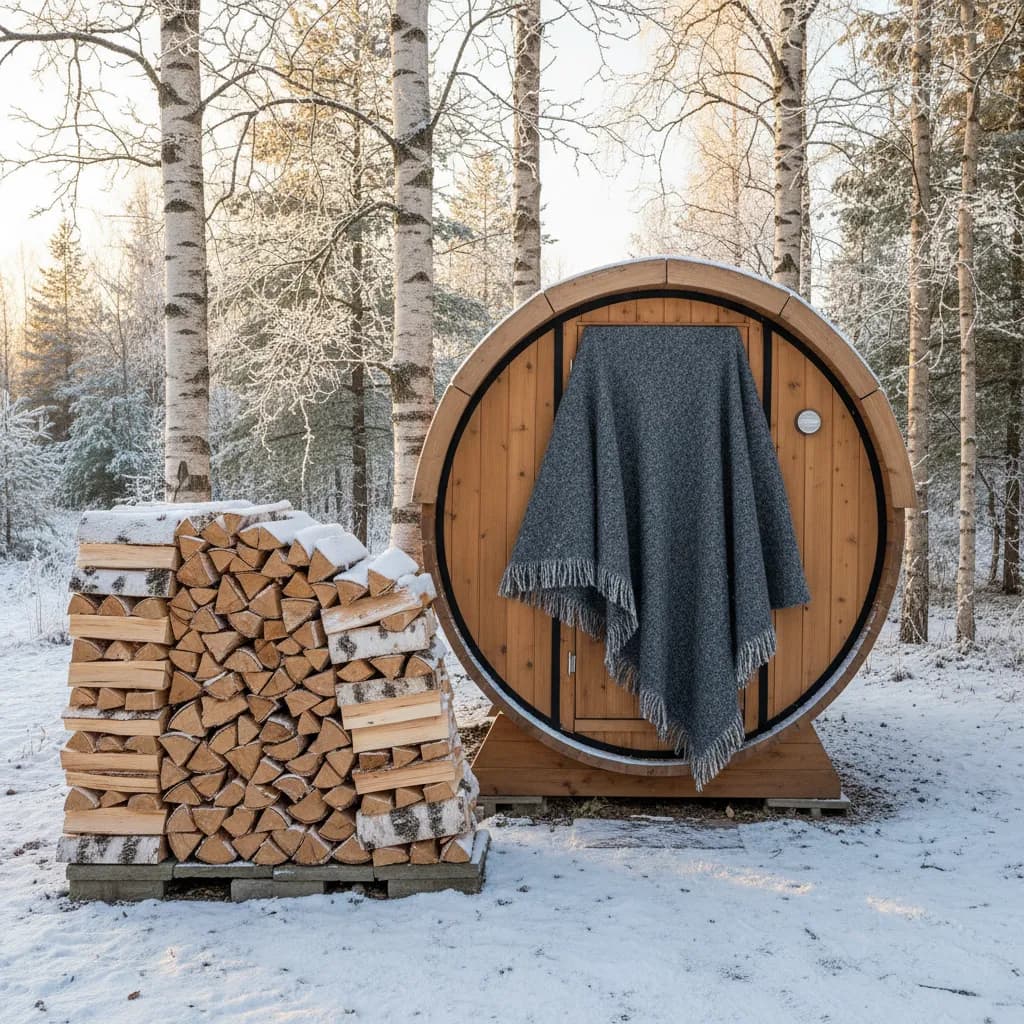
Outdoor Sauna Winter Prep: The Complete Checklist
Winterize your outdoor sauna before the first freeze. Pre-winter inspection, cold weather usage tips, and spring thaw recovery in one actionable checklist.
Winter does not ruin outdoor saunas. Neglect does.
The best sauna sessions of the year happen when it is freezing outside. Stepping from 190 degrees F into cold air, maybe rolling in snow, then going back in. That contrast is why outdoor saunas exist.
But a sauna that was not prepared for winter becomes a moisture trap. Wood swells, seals fail, heater stones crumble, and by spring you are looking at expensive repairs instead of enjoying the thaw.
This checklist takes about 2 to 4 hours to complete. Do it in September or October, before the first hard freeze. Your future self will thank you every time you walk out to a sauna that fires up perfectly on a dark January evening.
TL;DR
- September/October: Treat wood, check seals, inspect heater, clear drainage
- During winter: Heat slowly, ventilate after sessions, clear snow from roof
- Extreme cold (-20 degrees F and below): Consider insulation upgrades, upsize heater
- Spring: Inspect for frost damage, re-treat exterior, check foundation
Pre-Winter Checklist (September/October)
Complete these before your first freeze. Each item takes 15 to 30 minutes.
1. Inspect and Treat Exterior Wood
This is the single most important winter prep task. Untreated wood absorbs moisture. Moisture freezes. Ice expands. Wood cracks.
What to do:
- Clean the exterior with a wood cleaner or light pressure wash (under 1,500 PSI)
- Let it dry completely (2 to 3 sunny days)
- Apply exterior wood oil or stain rated for your wood species
- Cedar needs treatment every 1 to 2 years. Pine and spruce need it annually
- Pay extra attention to end grain, joints, and the bottom 6 inches where splash-back occurs
Barrel sauna owners: The bottom staves take the most abuse. Get underneath and coat them generously. If you see darkening or soft spots, address them now. For more on barrel-specific care, see our barrel sauna insulation guide.
2. Check Door Seals and Weatherstripping
Open the door and examine the seal. Look for:
- Gaps visible with the door closed (hold a flashlight inside, look for light leaks from outside)
- Hardened, cracked, or compressed weatherstripping
- Hinges that have loosened, causing the door to sag
Replace weatherstripping if it is not making full contact. This costs $10 to $30 in materials and takes 20 minutes. A leaky door wastes more heat in winter than any other single issue.
3. Inspect Chimney and Flue (Wood-Fired Only)
If you run a wood-fired heater, the flue needs attention before heavy use season. For a thorough comparison of wood-fired and electric setups, see our wood-fired vs electric guide.
Check for:
- Creosote buildup (brush the flue if more than 1/8 inch of buildup)
- Rust spots on the exterior pipe
- Cap or spark arrestor condition
- Flashing integrity where the pipe exits the roof or wall
A chimney brush kit costs $30 to $50. A chimney fire costs your sauna.
4. Clear Drainage Paths
Water must flow away from your sauna, not pool under it or against it.
- Clear leaves and debris from around the foundation
- Make sure the ground slopes away from the sauna on all sides
- If you have a floor drain, run water through it to confirm it flows freely
- For barrel saunas on gravel pads, rake the gravel to restore drainage slope
5. Check Heater Stones
Sauna stones degrade over time. They absorb water, expand, contract, and eventually crack or crumble. Broken stones block airflow through the heater element and reduce performance.
Do this:
- Remove all stones from the heater
- Discard any that are cracked, crumbling, or significantly smaller than when you bought them
- Reorganize remaining stones (larger on bottom, smaller on top)
- Replace lost volume with fresh sauna stones (olivine diabase or peridotite work well)
Most heaters need stone replacement every 1 to 2 years with regular use. Doing it before winter means peak performance when you need it most.
6. Verify Electrical Connections
Moisture is the enemy of electrical systems, and outdoor saunas live in moisture.
- Visually inspect the wiring from your panel to the heater
- Look for discoloration, corrosion, or rodent damage on exposed runs
- Confirm the junction box cover is sealed
- Test the GFCI breaker (press the test button, confirm it trips, reset it)
If anything looks suspect, call an electrician. Outdoor electrical issues get worse in winter, not better.
7. Stock Firewood (Wood-Fired Only)
If you use a wood burner, stock up now. You need seasoned hardwood with less than 20% moisture content. Green or wet wood creates more creosote, produces less heat, and makes your sessions frustrating.
- Stack wood off the ground, under cover, with airflow between rows
- Keep at least a cord within easy reach of the sauna
- Birch is the traditional Finnish choice. Oak and maple work well too
- Store a small amount inside a covered area near the sauna door so you are not trudging through snow for fuel
During Winter: Usage Best Practices
Your sauna is prepped. Now keep it performing all season.
Heat Up Slowly
This is the most common winter mistake. You come home, it is cold, you crank the heater to max.
The problem: rapid temperature changes stress the wood. Going from -10 degrees F to 200 degrees F in 20 minutes causes uneven expansion. Over a winter of doing this, you get warping, cracked panels, and gaps in barrel stave joints.
Better approach: Start the heater on a moderate setting. Let the sauna warm gradually over 40 to 50 minutes in deep cold. Once it reaches about 120 degrees F, turn it up to your target. This takes a bit longer but protects your investment. Our sauna temperature guide covers ideal ranges by sauna type.
Ventilate After Every Session
After your last round, leave the door cracked open for 30 to 60 minutes. This lets the residual heat dry out moisture from the benches, walls, and floor.
Why this matters in winter: if you seal the sauna while it is still warm and humid, the moisture condenses as the sauna cools. That condensation freezes overnight. Repeated freeze-thaw cycles inside the sauna cause more damage than the cold itself.
Once the sauna has cooled and dried, close the door fully to keep out snow and animals.
Clear Snow From the Roof
A cubic foot of packed snow weighs 15 to 20 pounds. After a heavy snowfall, a barrel sauna roof can accumulate 200 to 400 pounds of snow. Most barrel saunas are not engineered for that load.
- Brush snow off after storms, before it compacts
- Use a roof rake or soft broom (never a metal shovel on wood)
- Barrel saunas shed snow poorly because of the curved shape. Cabin saunas with a pitched roof handle this better
Clear a Safe Path
This sounds obvious, but slipping on ice while walking to a hot sauna in the dark is a real safety risk. Especially if you plan on a cold plunge or snow roll between rounds.
- Keep the path shoveled and salted (or use sand for traction near water)
- Install solar path lights if your sauna is more than 20 feet from the house
- See our sauna safety guide for more on safe sauna practice
Watch for Ice Dams (Barrel Saunas)
On barrel saunas, the curved top can create ice dams where meltwater refreezes at the edges. This trapped water seeps between staves.
- After warming the sauna, check for ice buildup along the bottom curve
- Brush it off gently before the next session
- If this is a recurring issue, consider a rain cap or small roof extension over the barrel
Extreme Cold: Upgrades for Harsh Climates
If you live where temperatures regularly drop below -20 degrees F (Northern Minnesota, Alberta, Finland, Northern Russia), standard outdoor saunas need modifications.
Insulation Upgrades
Barrel saunas: Aftermarket insulation wraps exist, but they are ugly and trap moisture between the insulation and the wood. If you live in extreme cold and want a barrel, buy one with a double-wall construction from the start. Dundalk and a few Finnish manufacturers offer these.
Cabin saunas: Make sure walls are insulated to R-13 minimum, ceiling to R-19 or higher. In extreme cold, R-24 ceiling insulation is worth the extra cost. Double-pane glass on any windows.
Heater Sizing
A heater that works great in North Carolina will not cut it in Winnipeg. Cold ambient temperatures mean the heater has to overcome a much larger temperature differential.
Rule of thumb for extreme cold: Add 30 to 50% to the manufacturer's recommended heater size. If they say 6 kW for your room volume, go 8 kW. You will not always run it at full power, but you will need it on the coldest nights.
Harvia and Huum both publish cold-climate sizing charts. Ask for them.
The Cold Start Protocol (Wood-Fired)
Wood-fired saunas in extreme cold need a specific startup sequence:
- Open all vents fully
- Start with a small kindling fire (do not load the firebox)
- Let the chimney establish draft for 10 to 15 minutes
- Gradually add larger pieces
- Only load the firebox fully once the sauna interior reaches about 100 degrees F
Skipping this process risks back-drafting (smoke filling the sauna) because the cold chimney does not draw properly.
Water Lines
If your outdoor sauna has a shower, hose bib, or water bucket system with plumbing, you have two options:
- Drain all lines before freeze (cheapest, most reliable)
- Heat-trace the pipes (electric heating cable, $50 to $150, keeps water flowing all winter)
Frozen pipes in a sauna can crack fittings and flood the floor. Drain them unless you have a good reason not to.
Spring Thaw Checklist (March/April)
Winter is over. Before you resume regular sessions, spend an hour checking for damage.
Inspect for Moisture Damage
- Look for dark spots, mold, or mildew on interior walls and benches
- Check under benches where moisture collects
- Smell the interior. Musty odor means trapped moisture
- Sand and treat any mold spots with a diluted solution (no bleach on sauna wood)
For a complete maintenance walkthrough, see our sauna maintenance guide.
Check for Frost Heave
Frost can lift foundations, especially in areas with clay-heavy soil.
- Check that the sauna is still level (use a spirit level on the benches)
- Look for gaps between the sauna and its foundation
- For barrel saunas, check that the cradle supports are still even and secure
- Re-level if needed before the next season of use
Re-Treat Exterior
Even if you treated the wood in fall, winter takes a toll. Inspect the exterior finish. If water no longer beads on the surface, it is time for another coat. Spring treatment before summer sun and rain is ideal timing.
Heater Service
- Repeat the stone check from fall
- Inspect electrical connections again
- For wood-fired units, do another flue cleaning
The Finnish Perspective: Why Finns Do Not Winterize
In Finland, nobody "winterizes" their sauna. They use it. Daily. Through the entire winter.
Constant use is actually the best preservation method. A sauna that heats up and dries out every day never accumulates dangerous moisture. The heat kills mold spores. The regular thermal cycling keeps the wood conditioned.
The problems come from intermittent use. Heating once a week, then letting the sauna freeze for six days. That is what creates the freeze-thaw damage this entire checklist addresses.
If you can commit to using your sauna 3 or more times per week through winter, many of the moisture concerns diminish significantly. The Finns figured this out centuries ago. The sauna is not a sometimes thing. It is a practice.
Frequently Asked Questions
Can you use an outdoor sauna in winter?
Absolutely. Winter is arguably the best season for outdoor saunas. The contrast between intense heat and cold air is the entire point of the Finnish tradition. You just need a properly maintained sauna with adequate heating capacity for your climate.
Do barrel saunas work in cold climates?
They work, but with limitations. Down to about 10 degrees F, a well-made barrel sauna performs fine. Below 0 degrees F, heat-up times increase significantly and maintaining temperature on the upper bench becomes difficult. Below -20 degrees F, you really want an insulated cabin instead. See our full barrel sauna vs cabin sauna guide for more.
How do you heat an outdoor sauna in winter?
The same way you heat it in summer, just with more patience. Electric heaters need 40 to 50 minutes in deep cold instead of the usual 25 to 35. Wood-fired heaters need the cold start protocol described above. The key is gradual heating. Do not try to rush it.
Should I cover my outdoor sauna in winter?
No. A full cover traps moisture and accelerates wood rot. The sauna needs airflow. If you will not use it for an extended period (more than a month), leave the door cracked slightly and ensure drainage is clear. The sauna can handle cold. It cannot handle being sealed in with trapped moisture.
Sources
- Finnish Sauna Society maintenance and construction guidelines
- Almost Heaven Saunas winter care documentation
- Dundalk Leisurecraft cold climate installation guide
- National Fire Protection Association (NFPA) residential sauna standards
Thinking about a home sauna? Get our free buyer's guide: what it actually costs, what actually matters, and what everyone gets wrong. No sales pitch. Send me the guide.
Methodology
These guides are built from manufacturer documentation, public specifications, primary research where health claims matter, and repeated buyer questions that show up in real ownership and installation decisions.
Manufacturer responses can clarify pricing bands, warranty terms, support footprint, or common mistakes. They do not move a page up the shortlist on their own.
Related Guides
Buying Guide • Cold Climate
Best Sauna for Cold Climate Buyers (2026): What Holds Up In Real Winter
The best sauna options for cold-climate buyers in 2026. Honest picks for winter performance, insulation, outdoor durability, and heater-first setups.
Buying Guide • Comparison
Almost Heaven vs Dundalk (2026): US Value or Canadian Craft?
Almost Heaven vs Dundalk compared for 2026. Honest take on price, warranty, the 2026 tariff timing risk on Canadian imports, and which fits your backyard.
Buying Guide • Backyard Sauna
Best Sauna for Backyard (2026): What Holds Up Outside Year After Year
The best backyard sauna options for 2026. Honest picks across barrel, cabin, and pod styles, plus the foundation, power, and weather decisions that actually matter.
Thinking about a home sauna?
Get our free buyer's guide. Real costs, real reviews, zero sales bias.
Just starting your sauna research?
Real costs, real reviews. One email, no spam.
Already got a quote? Get a free read on it